Many of the new cameras have functionality to let the ISO setting (your cameras sensitivity to light) fluctuate with the changes in light similar to Aperture Priority (AV) or Shutter Priority (TV).
Here is a breakdown of each auto mode:
- Aperture Priority (Av) – You set the Aperture (f/stop) and the camera automatically adjusts the Shutter speed to the proper exposure
- Shutter Priority (Tv) – You set the Shutter speed and the camera adjusts the Aperture (f/stop) to the proper exposure.
- Manual with Auto ISO – You set the Shutter speed and the Aperture, and the camera automatically adjusts the ISO to the proper exposure.
Manual with Auto ISO helps you be more aware of your cameras settings, as you set the shutter and the aperture to acheive the image you desire.
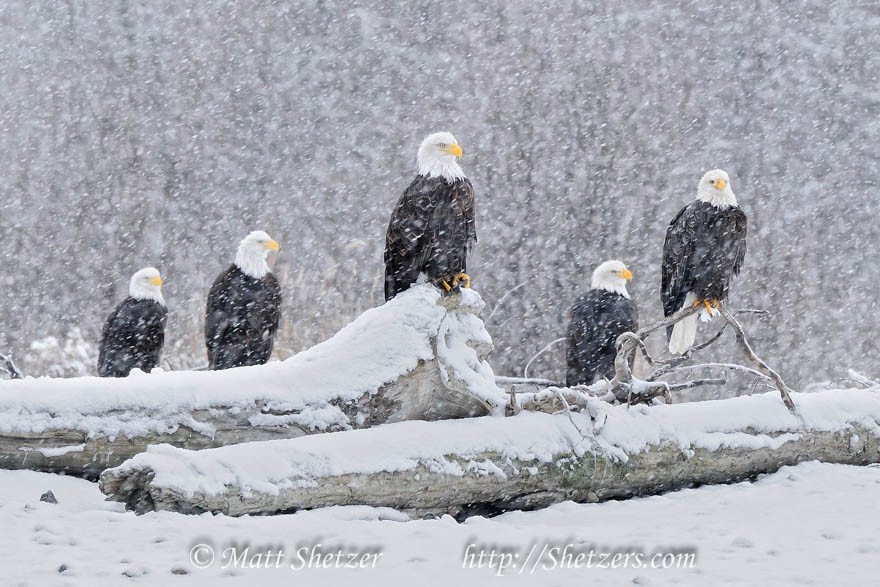
For example, I want to photograph bald eagles during a snow storm. I want my shutter speed to be at 1/125sec to produce motion in the snowflakes, and I want some depth of field to make sure all the eagles are sharp, therefore set my Aperture to f/11.
By setting my camera in Manual with Auto ISO, the camera will adjust the ISO to the correct level for my exposure while keeping my shutter speed and aperture settings.

Shutter 1/125sec – Aperture f/11 – ISO 500 – Exposure compensation of +1.5
Most current camera models are excellent at higher ISOs than years past, thus creating more flexiblity with Auto ISO.
To try this, set your camera to Manual mode, then look for settings for ISO Sensitivity. You will set the Maximum ISO Sensitivity (highest you will let the camera will go in ISO) and turn on Auto ISO. This will enable the camera to move the ISO up and down as needed, however not exceed your maximum setting.
Make sure you read our tip on Know your Camera’s ISO Performance to help you establish your Auto ISO Settings and the maximum ISO you are comfortable with.
Now get out there and play with this mode. Don’t forget to turn off Auto ISO when you are done.

