
CAMERA MODES DEFINED
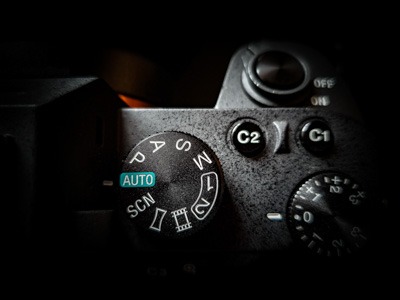
A mode button on a Sony camera. Most cameras have something very similar.
Everyone asks me, “Wwhat is the best mode to set your camera in?”, and I always answer, “All of them!”.
All the modes excel in certain types of photography, and all suffer in others. Learning to use all the modes will help you adapt to different scenes, actions, and subjects with superior results.
You will find you prefer one over the others, however having experience with all of them will make you a stronger photographer.
APERTURE PRIORITY MODE (A on the mode dial)
In aperture priority mode, you set the aperture (f/stop) and ISO and your camera automatically adjusts the shutter speed with the light. As the light gets brighter the shutter speed will be increased, and as the light gets darker, the shutter speed will be decreased letting more light in.
Remember that the aperture controls how much light enters the lens, but also governs depth of field: a smaller aperture (higher f/stop value) equals a greater depth of field. If the depth of field of an image is the critical part of the image you use aperture priority. Whatever aperture size you choose, your camera will then set the shutter speed so exactly the same amount of light reaches your sensor.
Benefits of Aperture Priority
- Great for controlling the depth of a scene as you set the aperture on the camera.
- Works in changing light conditions as the camera adjusts the exposure automatically by only changing the shutter speed.
- Great in low light conditions as you set the aperture wide open allowing all the possible light in to the sensor.
- Great with neutral scenes with lots of green grass and blue sky.
Negatives of Aperture Priority
- Not good with changing brightness levels while panning with wildlife.
- Changes in composition can affect exposure.
- Slow to adjust when zooming in or out.
- Not good with high contrast scenes.

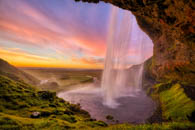
In this example, Aperture priority was easiest mode to use. As the sun was rising and the scene was getting brighter, the camera would automatically change the shutter speed keeping the exposure the same while maintain the same aperture to keep the depth of field needed to have the foreground and background in focus. As I was on a tripod, and not worried about the mountains running away, a slow shutter speed was fine.
The Technical Details: Focal Length 70mm, Shutter Speed 1/13sec, Aperture f/11, ISO 400, Exposure Program Aperture Priority Mode
SHUTTER PRIORITY MODE (S or Tv on the mode dial)
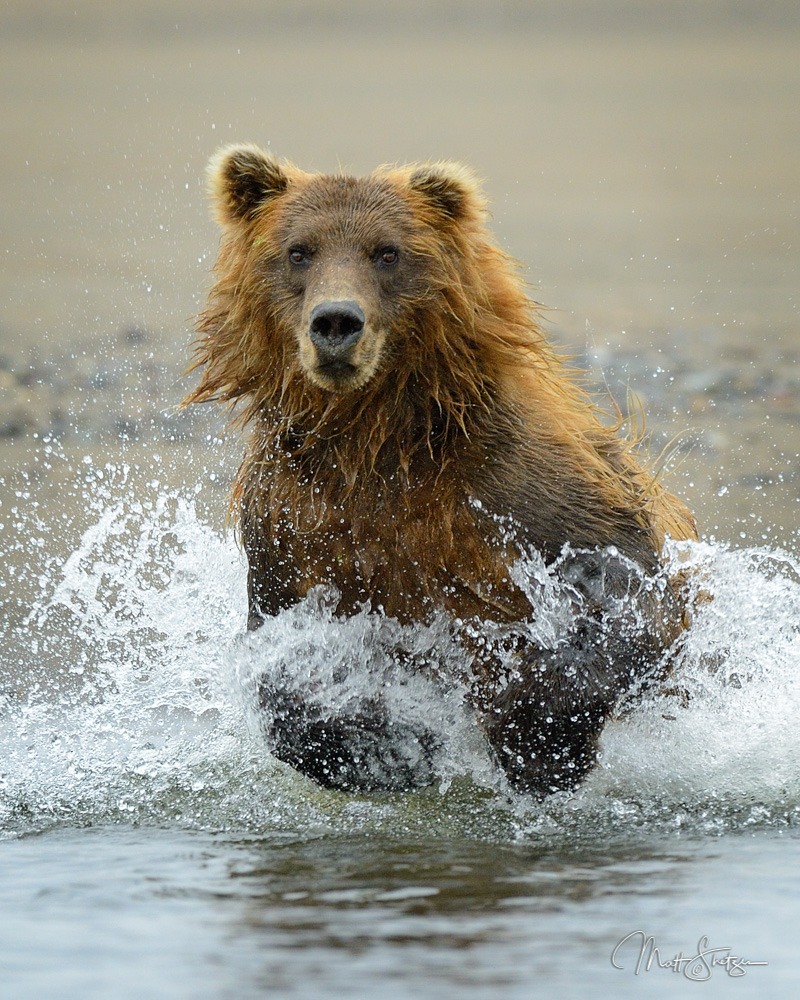
Ready for action, I wanted to be able to freeze the bear running therefore the shutter speed value was the most important. I set the camera to Shutter Priority, set the shutter speed at 1/1000 second and the camera adjusted the aperture as the light changed. This way I knew my shutter speed value would be fast enough to freeze the action.
The Technical Details: Focal Length 500mm, Shutter Speed 1/1000sec, Aperture f/5, ISO 1600, Exposure Program Shutter Priority Mode
In shutter priority mode, you set the shutter speed and ISO that you want. Your camera chooses an exposure level based on ambient light, and automatically adjusts the aperture value to reach that level.
Shutter priority mode is best for when you want to add or remove a sense of motion from your picture. For example, to take a picture of a moving vehicle, you want a short shutter speed so it isn’t blurred; however, a short shutter speed also lets in less light, making your image dim and shadowy. In shutter priority mode, your camera changes your aperture setting to compensate for your faster shutter.
Benefits of Shutter Priority
- Best for fast-moving subjects with the proper light level. Set the shutter speed and the camera adjusts the lighting with the aperture.
- Great when your priority is adding a sense of motion or freezing action as you set\lock the shutter speed.
Negatives of Shutter Priority
- Tough to monitor depth of field as camera is adjusting this to balance the exposure.
- Not good with changing brightness levels while panning with wildlife.
- Changes in composition can affect exposure.
- Slow to adjust when zooming in or out.
- Not good with high contrast scenes.
MANUAL MODE (M on the mode dial)
You select the aperture, shutter speed and ISO. You maintain manual control of all three exposure factors. You are in 100% control of the camera. You are smarter than the camera and over time this mode becomes the preferred mode.
Benefits of Manual Mode
- Complete control over the exposure.
- You are more aware of your settings so you learn more about the results of each.
- Better in changing backgrounds as camera cannot change exposure.
- Exposure remains correct when changing composition.
- Excellent in high contrast scenes.
Negatives of Manual Mode
- Takes more practice to get used to.
- Hard to keep up with changing ambient light on subject.
- Intimidating.
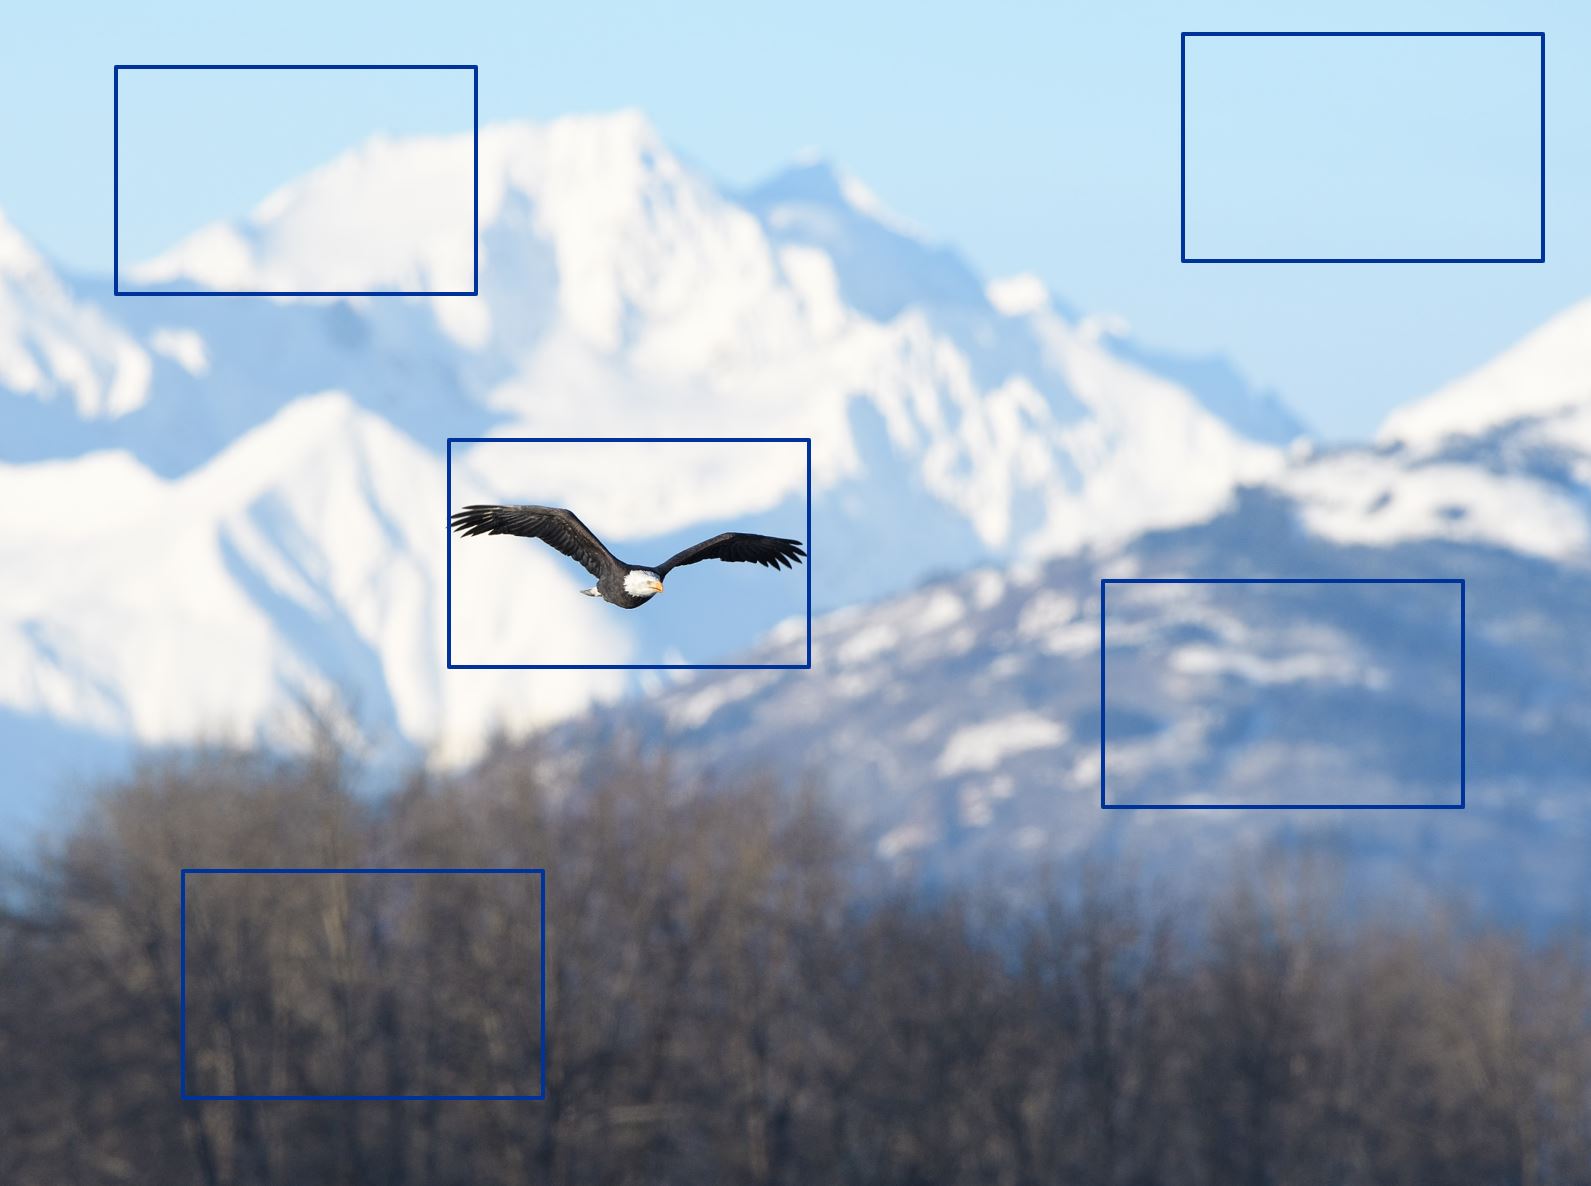
An example of the benefits of manual mode. This image is a very difficult one to get a correct exposure. As the eagle moves around from brighter to darker areas (simulated with the blue boxes) the camera would change the exposure in shutter or aperture priorities.
Since the camera can’t change the exposure in manual mode, complex scenes like this are easily dealt with. (That’s right, I just the words ‘Manual Mode’ and ‘Easily’ in the same sentence.
The Technical Details: Focal Length 600mm, Shutter Speed 1/1250sec, Aperture f/5.6, ISO 500, Exposure Program Manual Mode
Experimenting with manual mode is a great exercise. I’ll sit on the couch with my camera and adjust my settings while looking at the meter in my viewfinder. I will adjust the settings and take a test shot until I get it right. Practice makes perfect!
AUTO-ISO MODE
Your camera’s Auto-ISO feature lets you set the aperture and the shutter speed, and the camera calculates the exposure and changes the ISO. The steps for programming Auto-ISO vary between cameras — so, you guessed it, it’s time to get the manual back out!
Auto-ISO is a programmable mode. You can set upper and lower boundaries to keep your camera from going with too high or too low ISOs. For example, you can set Auto-ISO but tell it not to go below 200 or above 1600.
Benefits of Auto-ISO
- Makes Manual Mode easier to use as the camera will set the ISO as you set shutter and aperture.
- Great with changing ambient light.
- One less variable to worry about.
- You’re trying to get a feel for aperture and shutter speed first while letting the camera adjust the ISO.
Negatives of Auto-ISO
- You won’t learn how to manage ambient light levels on your own.
- Not good with changing brightness levels while panning with wildlife.
- Changes in composition can affect exposure.
- Slow to adjust when zooming in or out.
- Not good with high contrast scenes.
PROGRAM AUTO EXPOSURE MODE (P or AUTO on the mode dial)
In program auto exposure mode (P), your camera detects the optimal exposure based on your current surroundings and light levels, and chooses a combination of aperture and shutter speed to match. You can then change your ISO and your camera will adjust the other setting to remain at the same exposure.
This mode is one of the easiest ways manipulate the “exposure triangle” of aperture, shutter speed, and ISO, while ensuring that you won’t break any shot too badly. The problem with this mode is that the camera doesn’t know what you are shooting, whether a landscape or a hummingbird so the settings are never spot on. You are basically making your camera into a point and shoot camera with mediocre settings.
Benefits of Program Mode
- Get a decent shot quickly
- Great for experimentation
- Quickly set up well-exposed shots
Negatives of Program Mode
- Can’t shoot with a very creamy background.
- Bad at adding or freezing motion.
- Bad at creating lots of depth of field.
- Just average settings.
CUSTOM MODES
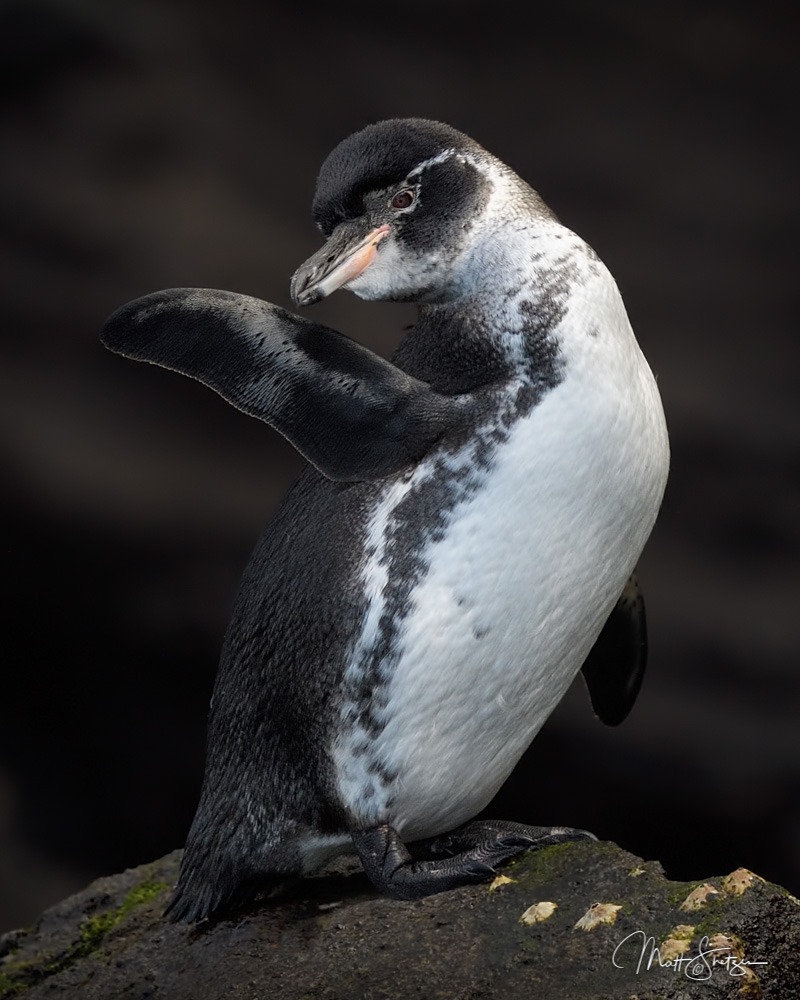
A Galápagos penguin waves hello. Exposure compensation is critical to fine tune your exposure. This image is more dark than middle tone, so you would need to reduce the exposure 2/3 of a stop in order to keep all the white detail. Press the +/- button and roll the dial down, reducing the exposure. Take a test shot, and continue to fine tune the exposure until it is perfect. Check that histogram (chapter 6) so you are not clipping any whites.
The Technical Details: Focal Length 350mm, Shutter Speed 1/1250sec, Aperture f/8, ISO 1600, Exposure Shutter Priority Mode
As a wildlife photographer, I have several setting banks saved that work well for taking pictures of birds,animals and landscapes. When I spot a bird, there’s no guarantee it will sit still for long — I need to be able to photograph it right away. Assigning a custom mode lets me focus on composition, rather than fiddling with my camera as tweety flies away.
EXPOSURE COMPENSATION
Exposure compensation isn’t a mode in itself, but it’s important for getting the most out of the other modes. Represented with a +/- button on most cameras, exposure compensation lets you make an image darker or brighter than the preset value of any camera mode.
After taking a picture in unusual lighting conditions, you might find that it’s brighter or darker than you’d like. If it’s too bright, use the – button to adjust exposure downward. If it’s too dark, use the + button to adjust upward. Keep testing exposure compensation until you reach the light level you’re looking for. Remember to use your histogram (coming up in Chapter 6).
ASSIGNMENTS
Now, it’s your turn to go and practice! Practice is one of the most important parts of photography. Not only will you gain more technical skills with your camera, you will also start developing your personal style.
DEPTH OF FIELD EXPERIMENTS
- Practice shallow depth of field work, where the subject is emphasized and crisp — almost popping out of the photo while the background is softened. We suggest using Aperture Priority mode (A on your mode dial) and a value like f/4 or f/5.6
- Practice great depth of field work, where the whole scene is crisp from foreground to background. We suggest using Aperture Priority mode (A on your mode dial), and a value like f/16
- Practice producing a depth of field for an image that you like. Experiment with different Apertures to produce the desired softness of the background. If you can’t decide which setting is the right one, take many different images, changing the aperture each time. For example, try taking four pictures of the same subject at f/5.6, f/8, f/11 and f/16. Download them on the computer and decide which one you like the most. This is called bracketing the aperture.
MOTION EXPERIMENTS
- Practice taking pictures of a moving subject whose motion is “frozen”: shown clearly in the photo without any blur. Good ideas for subjects include pets, backyard birds, and cars driving by your home. I suggest using Shutter Priority Mode to start, and choosing a shutter speed around 1⁄1000 second.
- If the subject does not come out crisp, increase the shutter speed and try again. Once you get a crisp image, try bringing the shutter speed back down until you see some motion blur. Compare the clear, still image with the image that has a slight sense of movement and see what your personal preference is.
- Practice motion blur work, where a moving subject is gently blurred in an image. I suggest using Shutter Priority Mode, and starting with a shutter speed of 1⁄30.
Want More?
Once you have finished, you might be craving more chances to test your skills. During our photography workshops, we go in-depth and teach our guests advanced techniques in the world's most beautiful locations, like Alaska, Costa Rica, Iceland, Colorado and Ecuador.
Each workshop has different topics and skill sets that are dedicated to the subjects at each spectacular location.
Learn more about our Photo Workshops at: https://www.shetzers.com/photo-tours/