Noise Reduction techniques in post processing are becoming very important for wildlife photographers. As every generation of camera produces higher quality images at higher ISO’s, it enables us to stretch the limits of what couldn’t be done in the past.
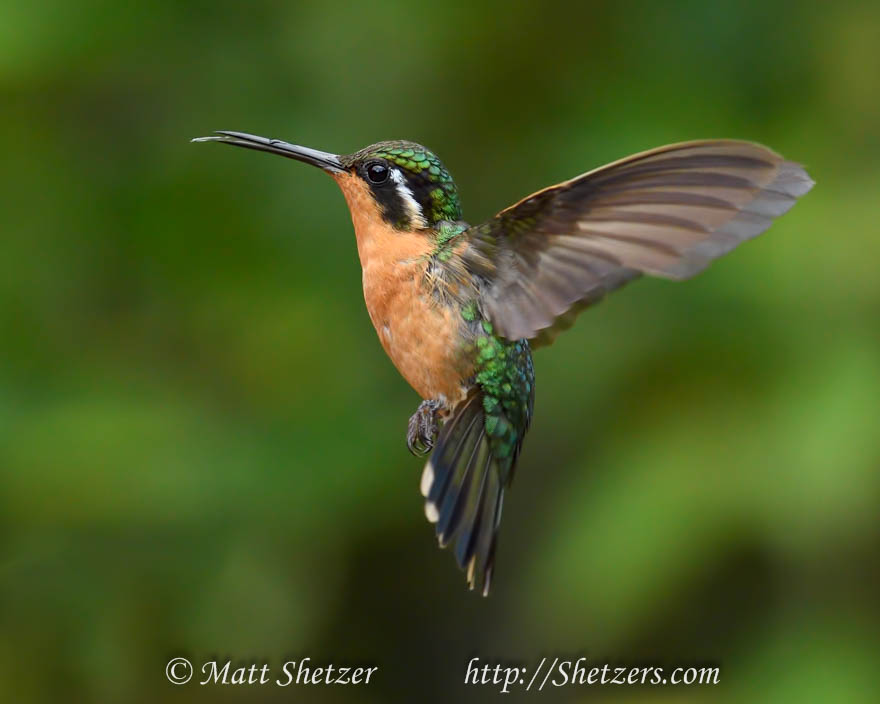
To explain our noise reduction techniques, lets use this example of a purple-throated mountain gem hummingbird in flight that I took this spring in Costa Rica in the dark rain forest (emphasis on dark). I was playing with a new camera in natural light (no flash at all) to see what I could do with it. While doing this, I was also experimenting with the auto-focus and different settings for focus tracking and quality.

A female Purple-throated mountaingem in flight in Costa Rica.
Nikon D5 w/ 300mm 2.8
1/1600 Shutter
F 5.6
ISO 8,000 (That is not a typo !)
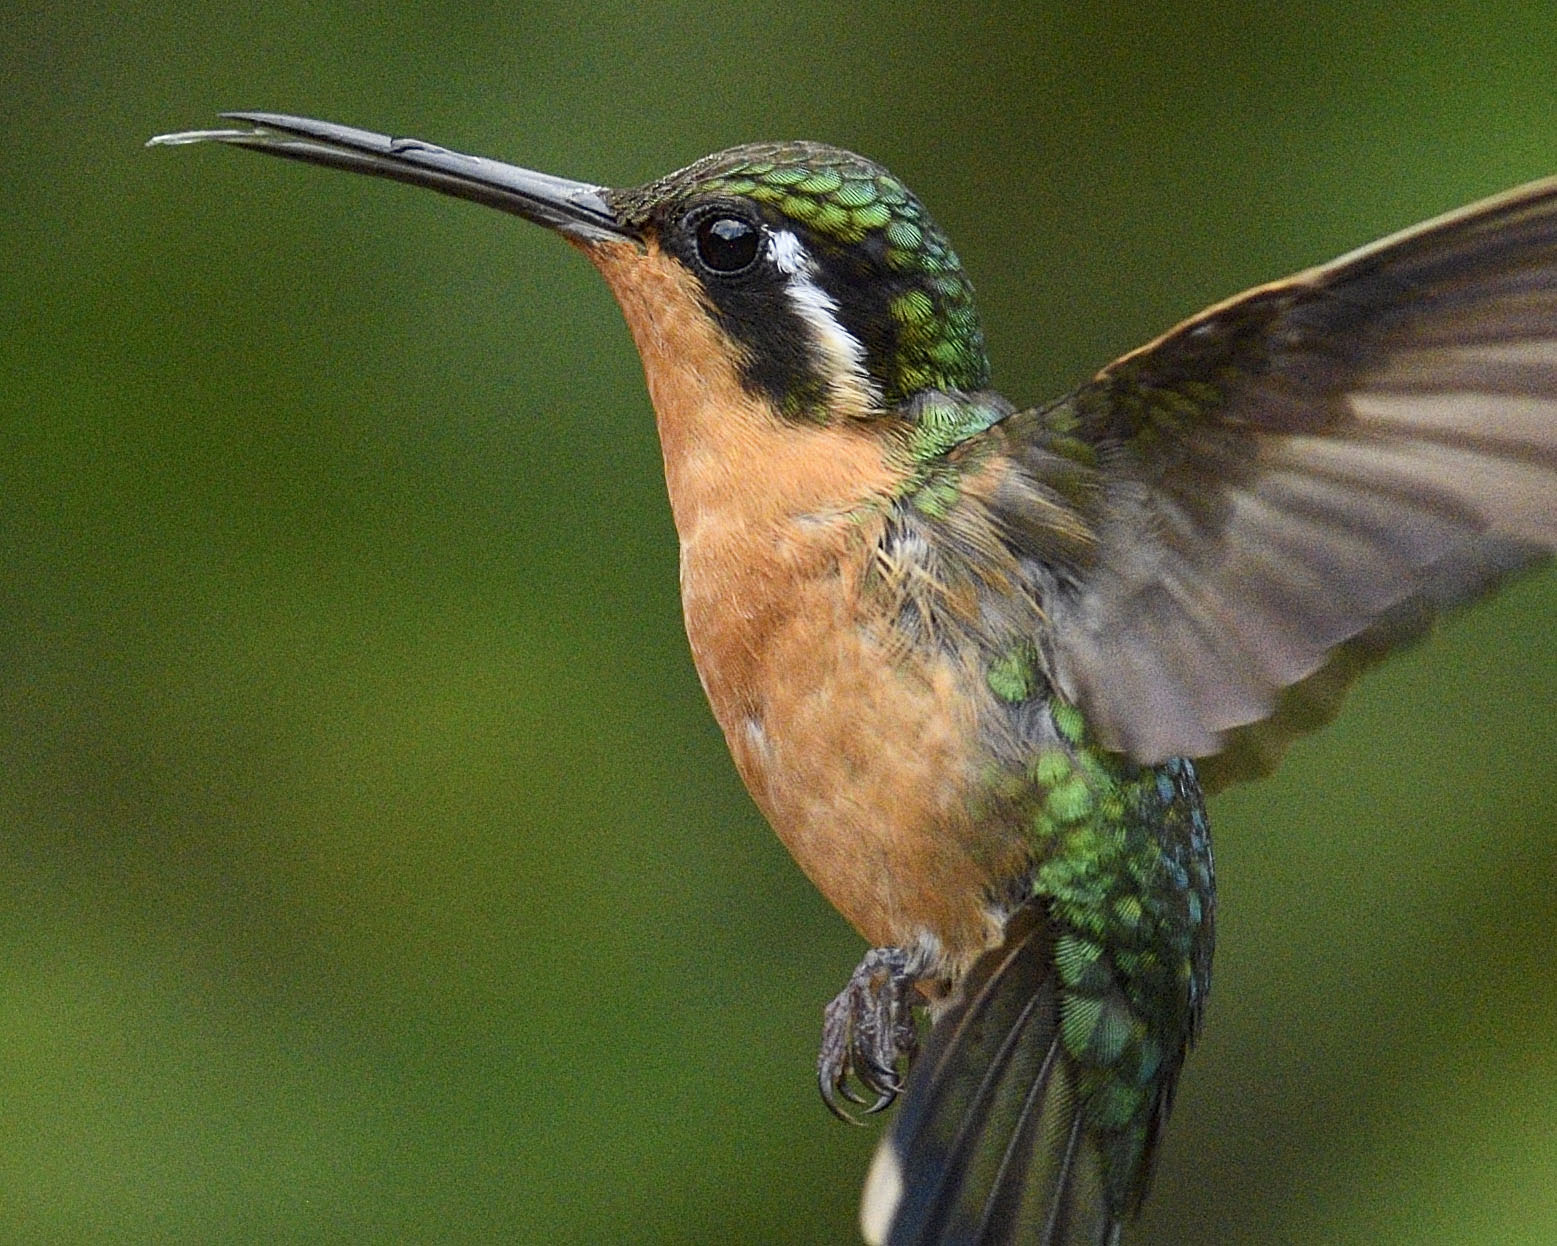
Here is the image prior to Noise Reduction Techniques with Photoshop and Topaz Denoise
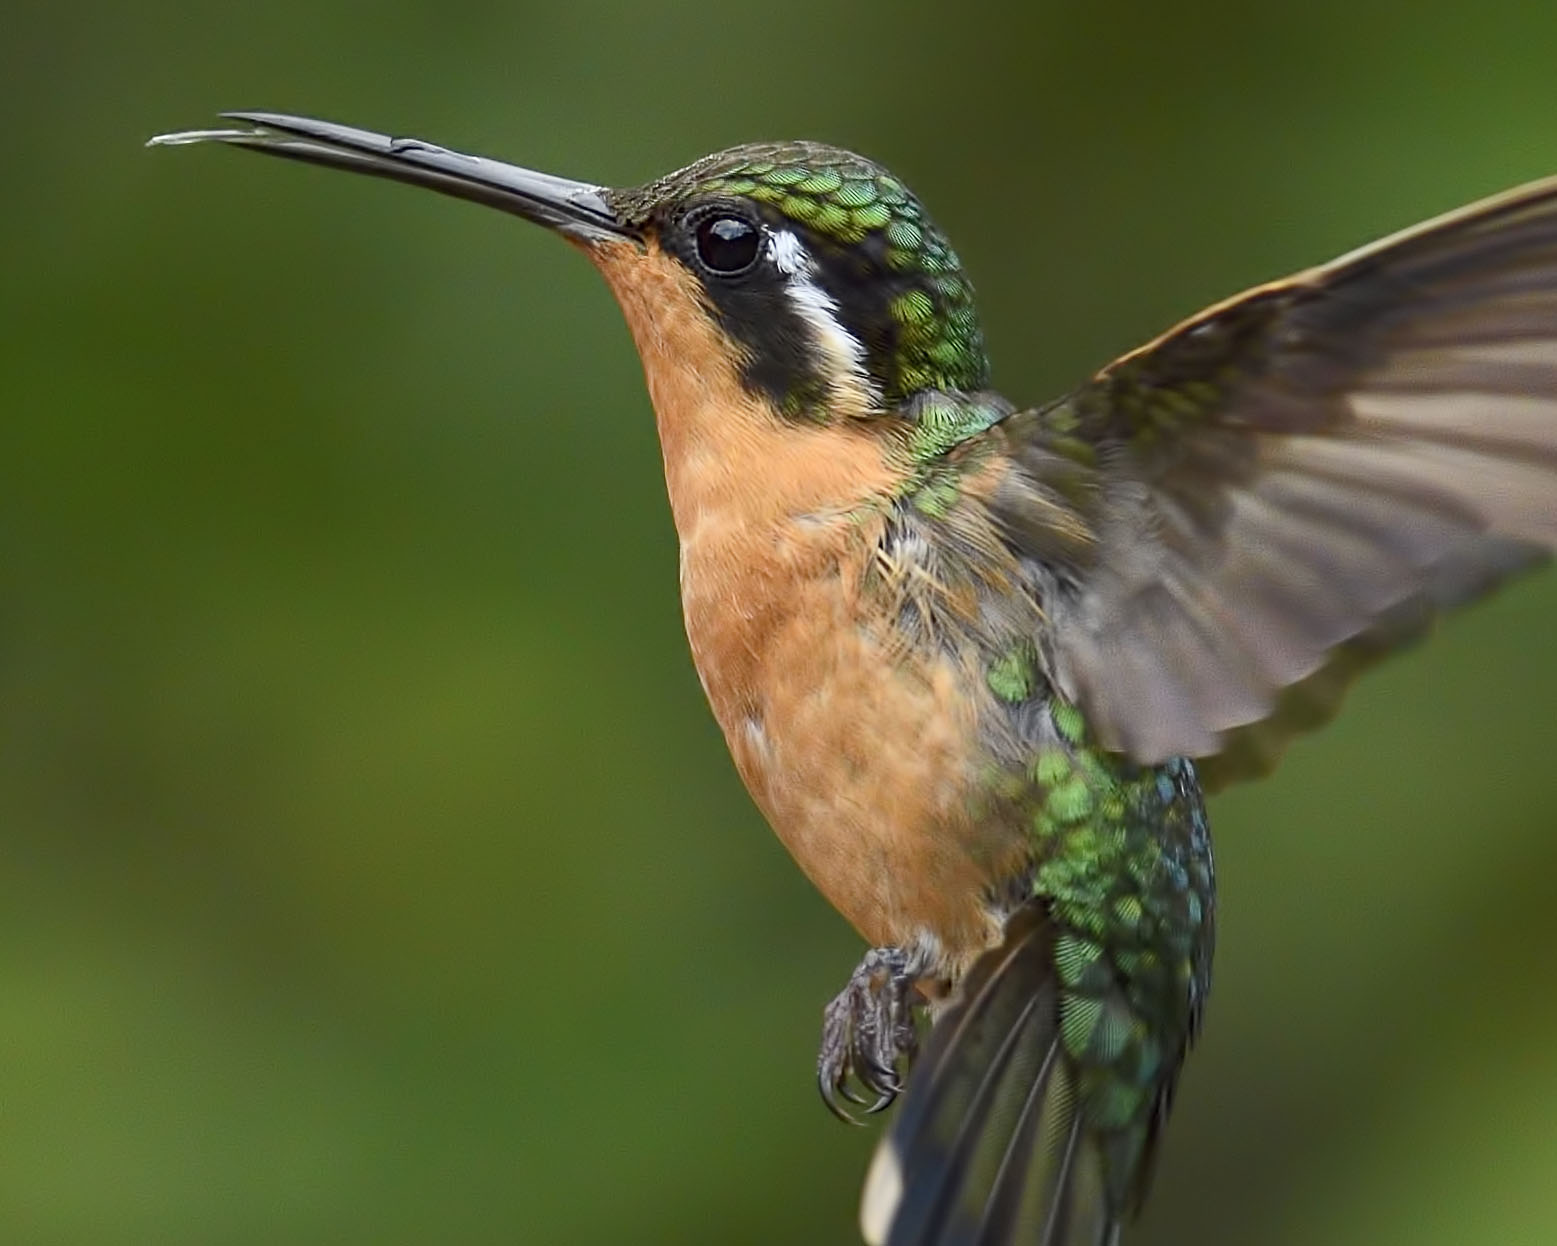
After Noise Reduction Techniques
The Nikon D5, does very well with high ISO, however, there is still too much noise in the original. There are many noise reduction software programs, but my favorite is Topaz Denoise. You can download a free trial version from the link.
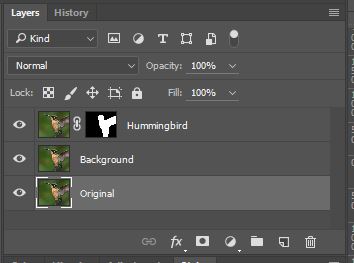
I followed these steps to separate the image into two different levels of noise, the hummingbird and the background. You want to keep the maximum amount of detail in the image and by adding too much noise reduction, you can soften an image too much, therefore I want to select one level of noise reduction for the hummingbird, and another level for the background:
- Open in Photoshop
- Copy Layer twice
- Name top layer ‘Hummingbird’
- Name bottom layer ‘Background’
- Select the hummingbird layer, and go to Filter>Topaz Labs>Topaz Denoise
- There are many presets, and I normally start with RAW-lightest and keep moving down the list as I watch the preview. Basically, I want to remove all the noise, however keep the detail in the hummingbird. If you are getting close with the presets, you can fine tune the Overall Strength in the window on the right. Select a preset amount you are happy with and click OK
- Turn off the display of the Hummingbird Layer
- Select the ‘Background’ layer
- Select Topaz denoise again, however this time you will select the preset amount just for the background. You do not care about the hummingbirds detail. I would select RAW-Lightest again, and keep moving down until my background looks nice. Click OK
- Now we will need to blend the two images together with a mask. Turn on the display for the hummingbird layer and create a mask. If you are not sure about masks, do a quick search on YouTube and you will see lots of great tutorials on photoshop masks. With a black brush on the hummingbird layer mask, paint the background. This will let you hide the pixels in the background from the hummingbird layer, thus displaying the smoother and noise free pixels from the background layer.
- Print it big, and hang it on the wall!

By separating the different parts of your image that require different amounts of noise reduction, you are able to create a crisper, noise free image.
We always talk about these processes and many more in our workshops if you are planning on joining us on a trip.


